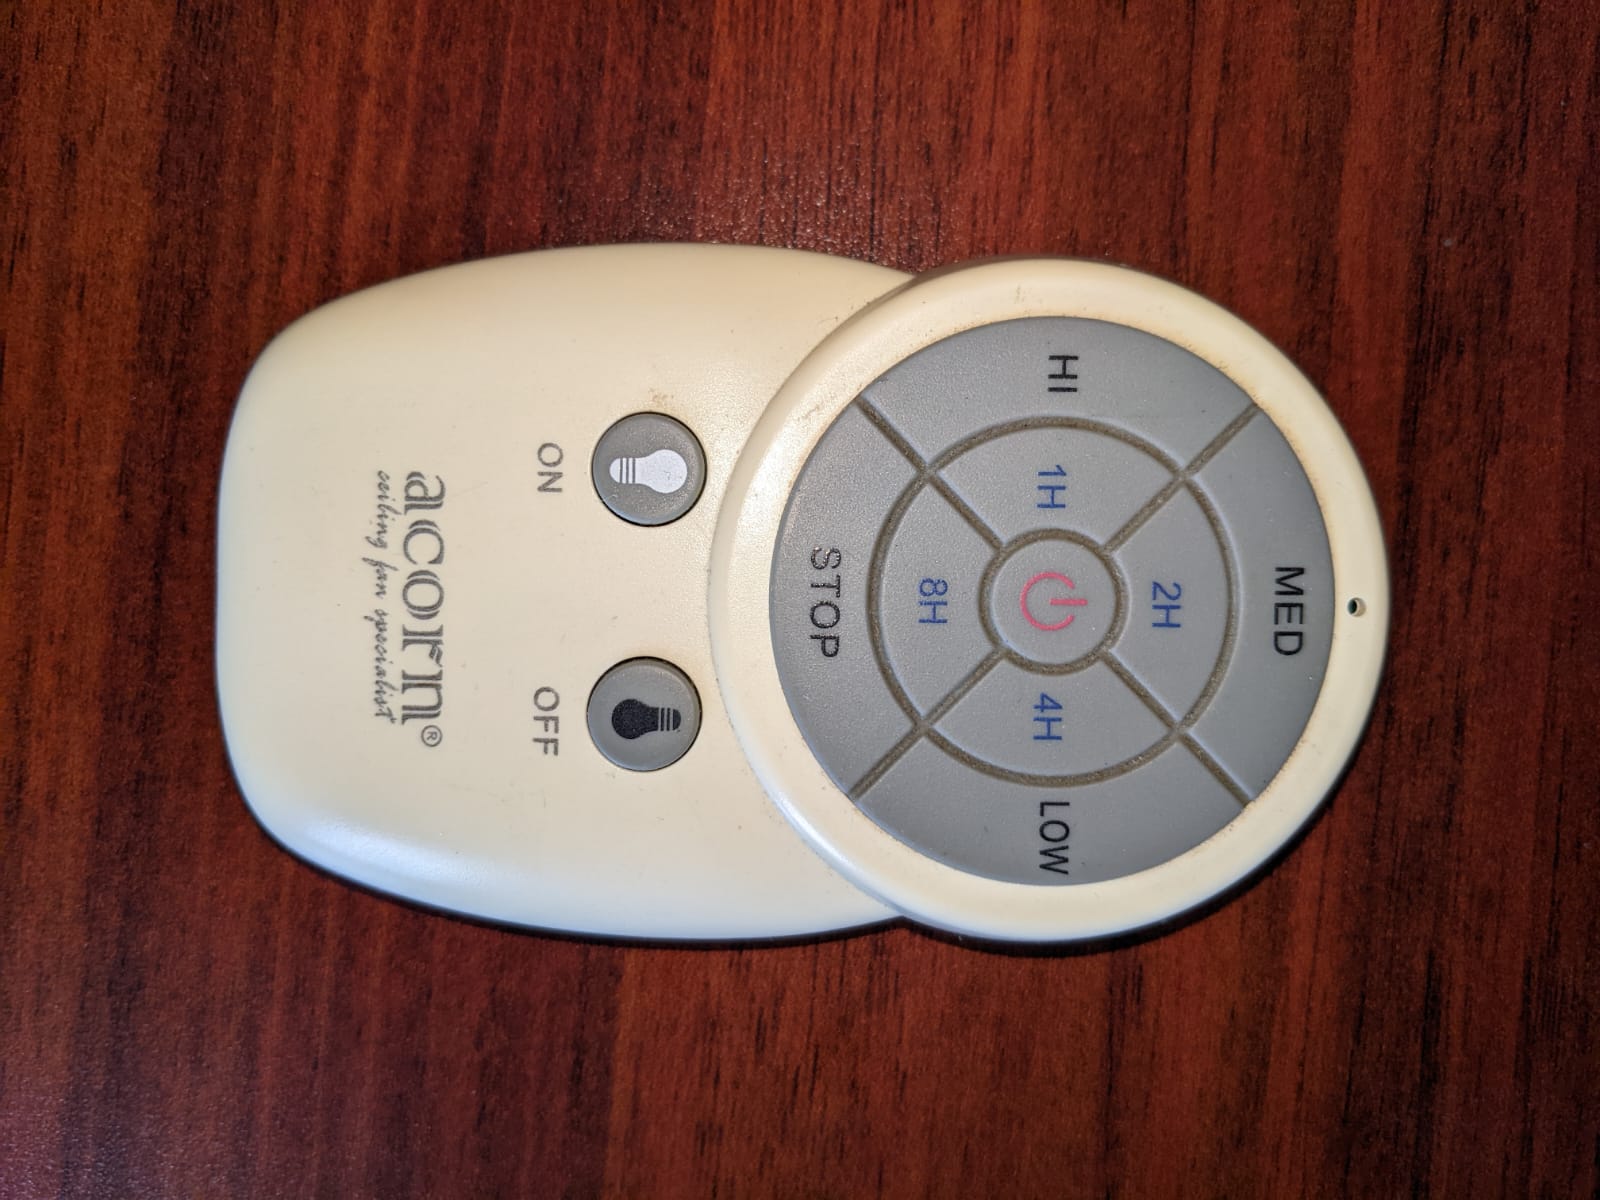
Acorn is a company in Singapore that sells ceiling fans. Some of the models have a remote control for convenience. However, they are not smart fans and you will not be able to control them using your home automation solution out of the box. However, if you have the remote pictured below, then there may be a way to "convert" it into a smart fan very cheaply.
Remote controlled fans such as these usually use RF as a means of communication. They can either use the 315Mhz or 433Mhz frequency. Through trial and error, I discovered that my fan uses 433Mhz. These fans usually use a simple static code so it would be possible to sniff and replay and same static code if you have a 433Mhz transceiver.
The transceiver I got is this cheap $5 YS-UTR2 transceiver. As with all products from China, the documentation is extremely poor, the software is hosted on Baidu Pan which requires a China mobile number to sign up for. So it's time for some research and reverse engineering. There are people who have succeeded in the past, and after a bit of reading and through trial and error, I managed to get it to work.
 1
 2
 3
 4
 5
 6
 7
 8
 9
10
11
12
13
14
15
16
17
18
19
20
21
22
23
24
25
26
27
28
29
30
31
32 | # The brltty service uses the same CH340 chip. Linux will autoload the brltty driver so we must disable it
sudo systemctl stop brltty.service
sudo systemctl disable brltty.service
sudo systemctl mask brltty-udev.service
# Sniff the RF signal for each individual buttons
# Connect to the device and log the binary output to file.
screen -S mySession -L -Logfile off_button_log /dev/ttyUSB0 9600, cs8
# When you press the button on the original remote, you should get binary data from the ttyUSB0 port.
# The same code might be transmitted multiple times.
xxd off_button_log
00000000: fd01 2345 6789 dffd 0123 4567 89df fd01
00000010: 2345 6789 df
# After removing the repeats, we get the following code.
fd01 2345 6789 df
# As shown in the taobao video, we will need to replace the preamble 'fd' and the postamble 'df' with '99'
# We just need to send the binary data to ttyUSB0 port.
echo -ne "\x99\x01\x23\x45\x67\x89\x99" > /dev/ttyUSB0
# If you are using home assistant, you can save the command in a shell script and execute it over SSH.
command_line:
- switch:
name: Fan
command_on: ssh -i /config/id_rsa -o 'StrictHostKeyChecking=no' hauser@172.1.0.1 '/home/hauser/fan_control/fan_med.sh'
command_off: ssh -i /config/id_rsa -o 'StrictHostKeyChecking=no' hauser@172.1.0.1 '/home/hauser/fan_control/fan_off.sh'
- switch:
name: Light
command_on: ssh -i /config/id_rsa -o 'StrictHostKeyChecking=no' hauser@172.1.0.1 '/home/hauser/fan_control/light_on.sh'
command_off: ssh -i /config/id_rsa -o 'StrictHostKeyChecking=no' hauser@172.1.0.1 '/home/hauser/fan_control/light_off.sh'
|
